Our New Home
McCormick, South Carolina
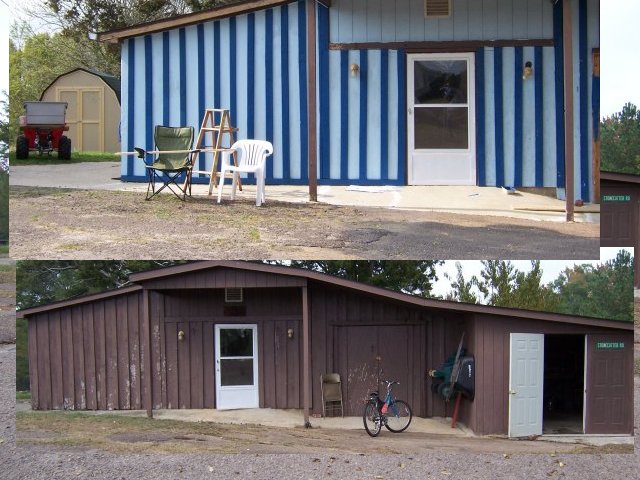
THE BARN

Click on any photo to see larger


 The barn before and after. Circa 2005 and 2009.     THE BARN
Before and After


BEFORE

Front of barn - area where we store tractors

Front of barn - area where power tools are

The barn before and after. Circa 2005 and 2009.

Sept. 30, 2005

Front of barn

Cathy's work area

Cathy's Area
Cathy's area. 

The barn before and after. Circa 2005 and 2009. The back lean to.
Back lean to. We enclosed this area in autumn of 2008

Cathy's Area
Cathy's area. Showing water heater.
 Take note of wall and window. They won't be there for long.

The barn before and after. Circa 2005 and 2009. The back lean to.
Back lean to. We enclosed this area in autumn of 2008

Cathy's work area
Cathy's area. This is opposite wall from one shown above. Notice window.

The "Office" at the center of the barn
This room is in the center of the barn. The white storm door you see in the photos above open to this "Office" as we call it.

Cathy's Area Side Door
Cathy's area. Looking at the inside of the door shown below this image.

Middle OFFICE
Looking into the middle OFFICE room from the power tool room. Cathy's room through far door.

Cathy's Area Side Door
Cathy's area. Seen from side of barn. Notice lean to at back of barn. We'll be enclosing that soon.

The "Office" at the center of the barn
This room is in the center of the barn.

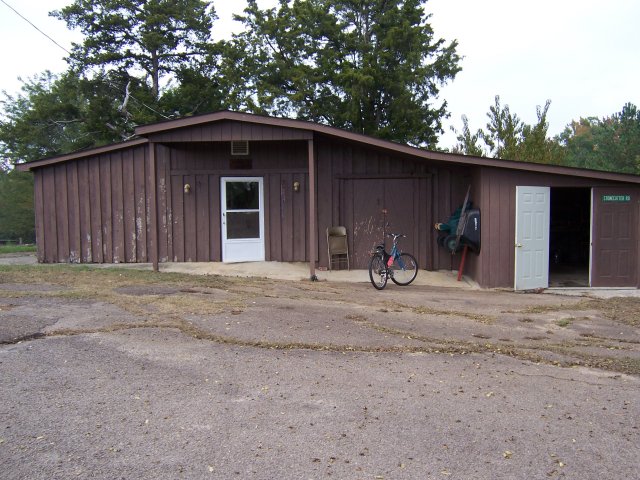
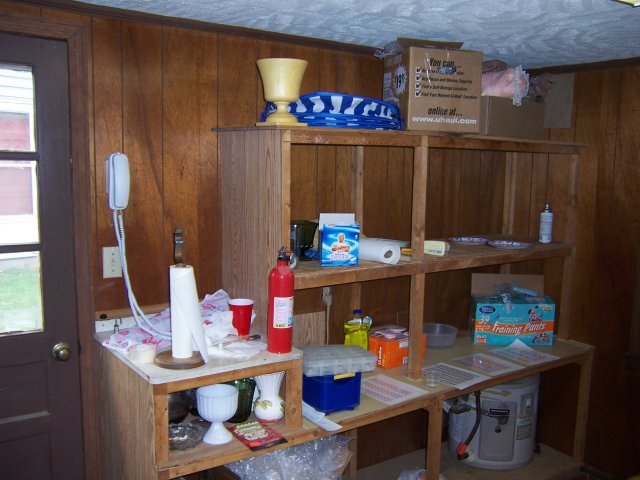
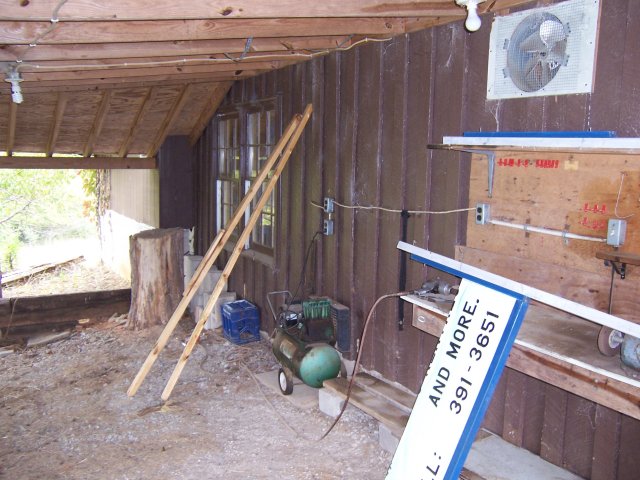
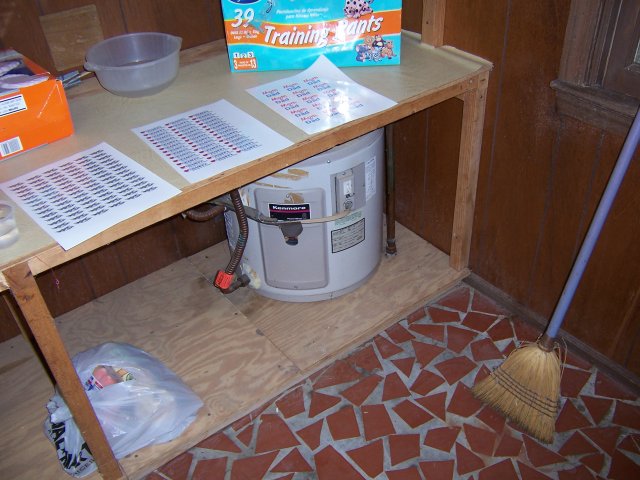
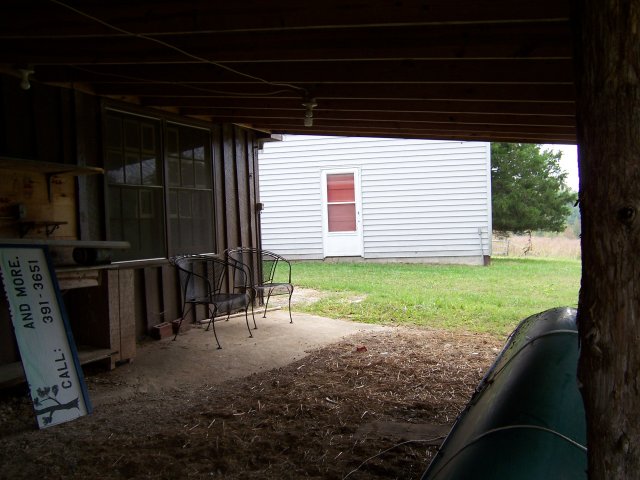
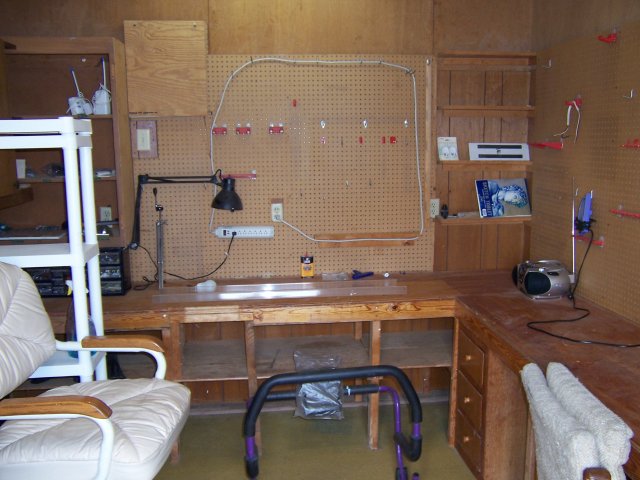
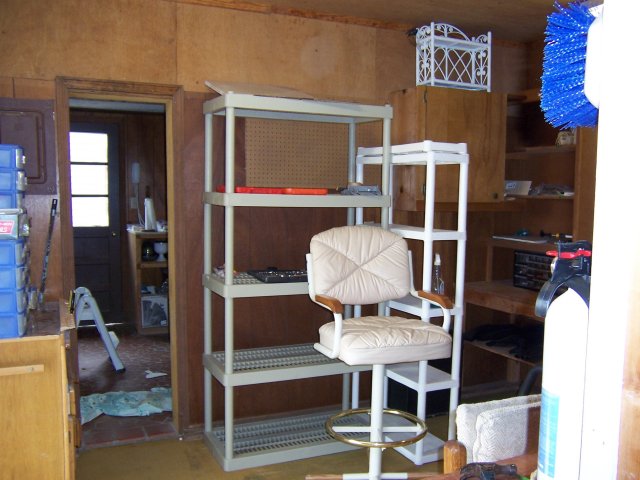
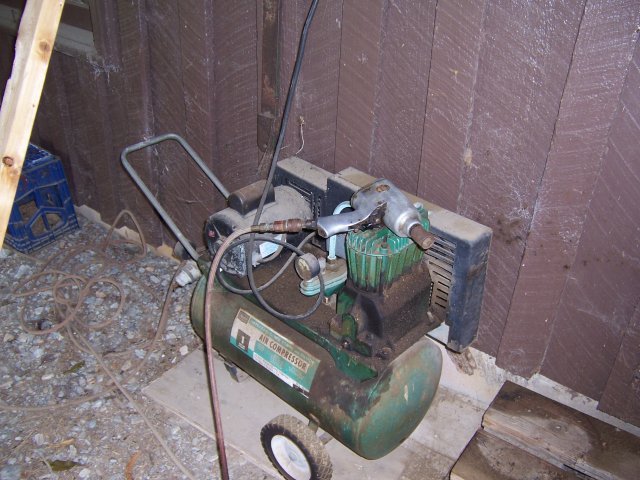
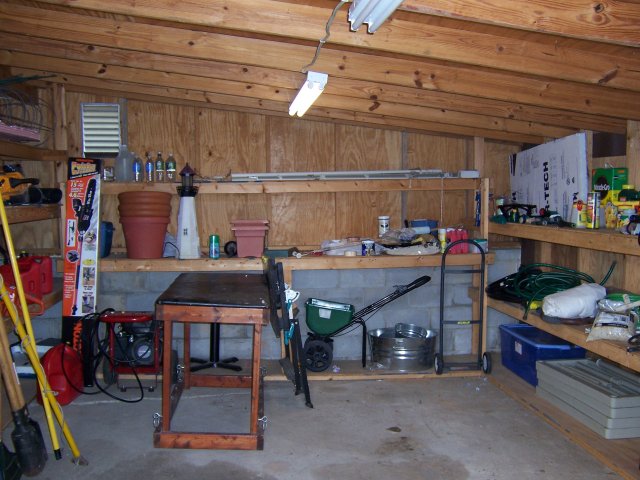
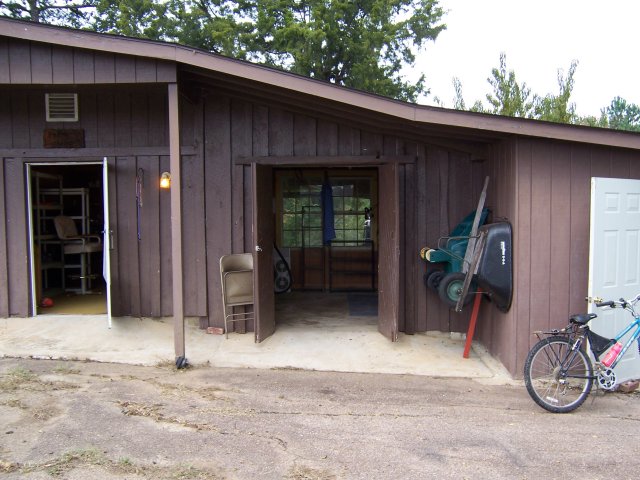
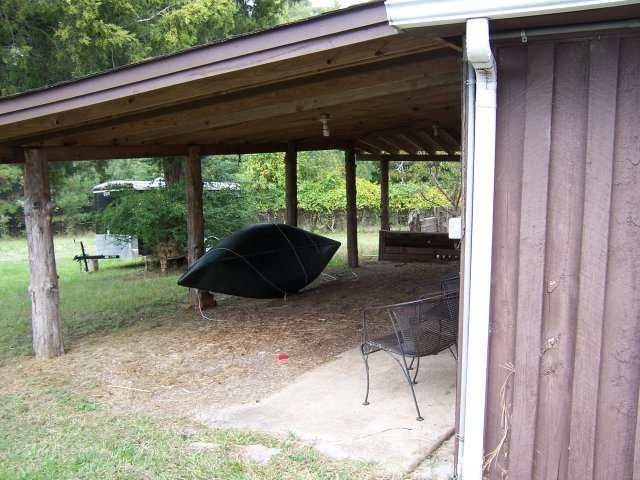
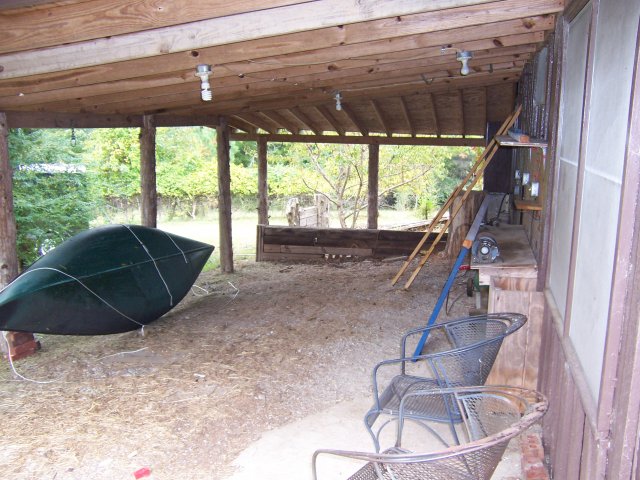
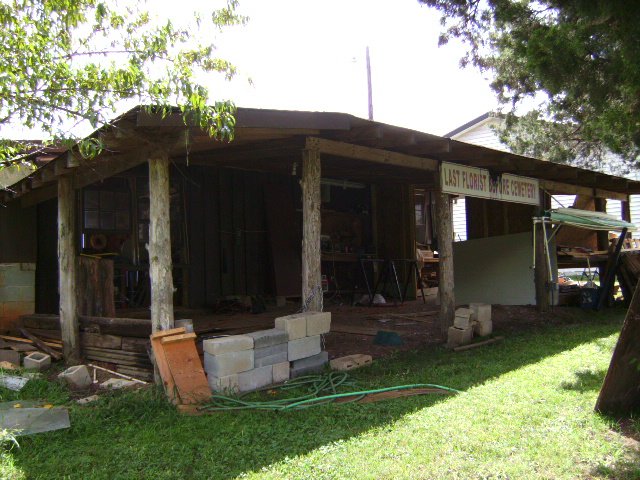
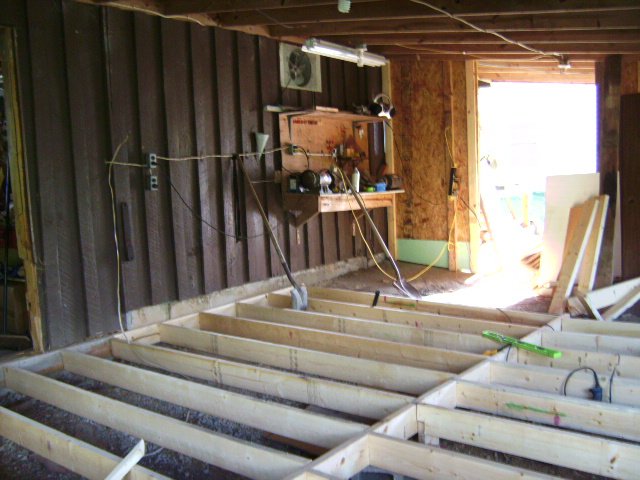
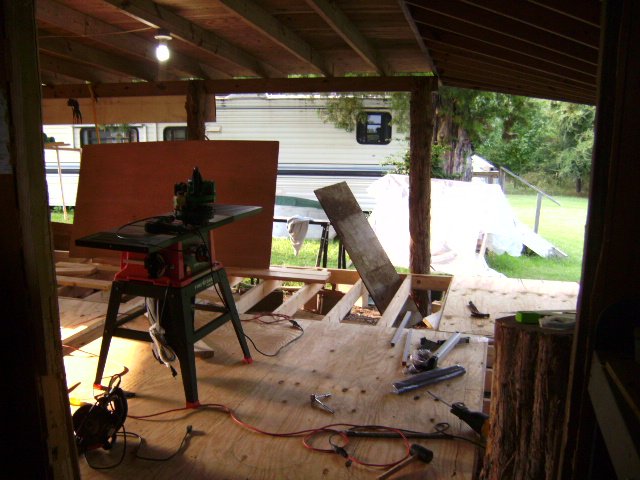
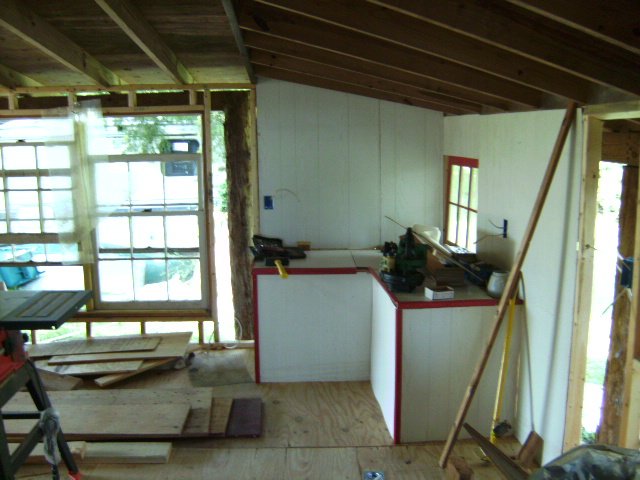
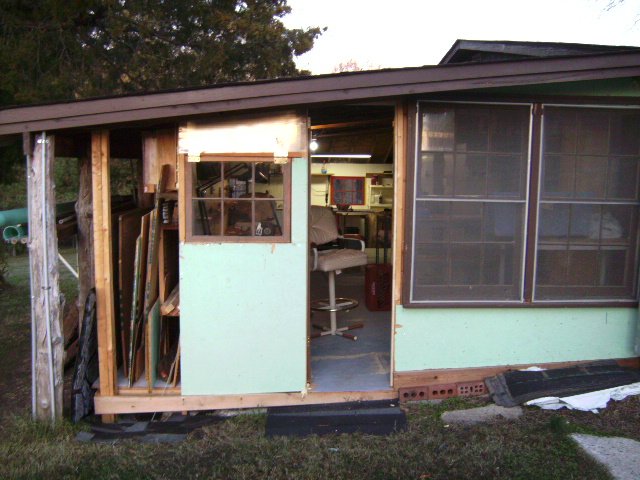
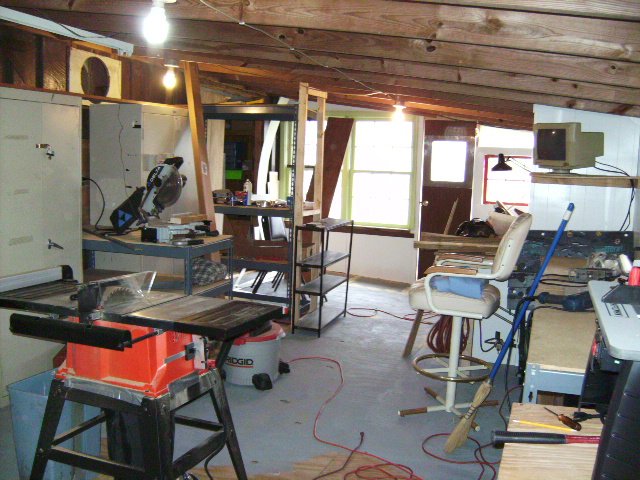
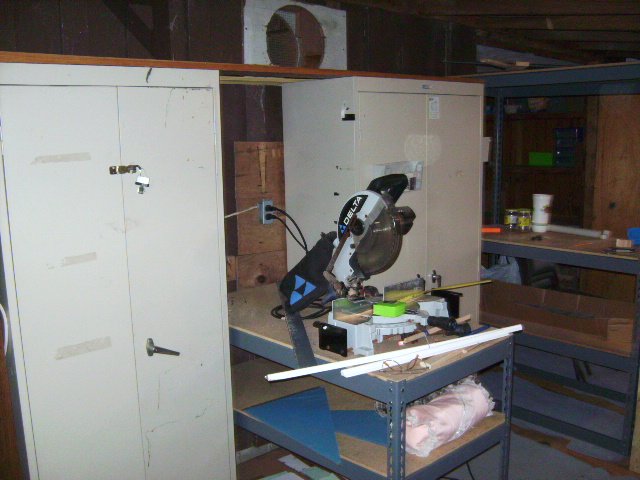
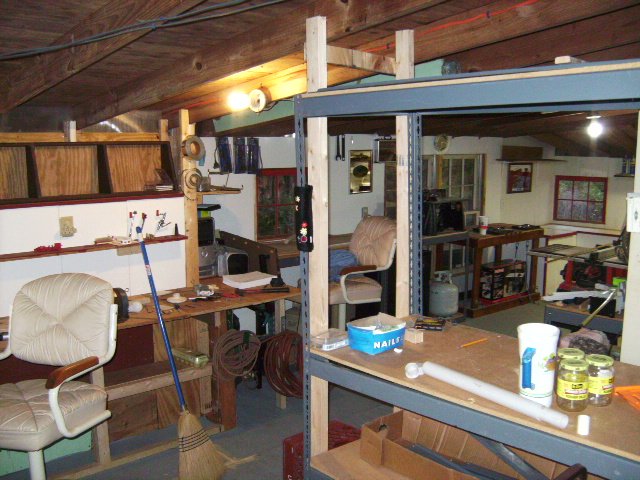
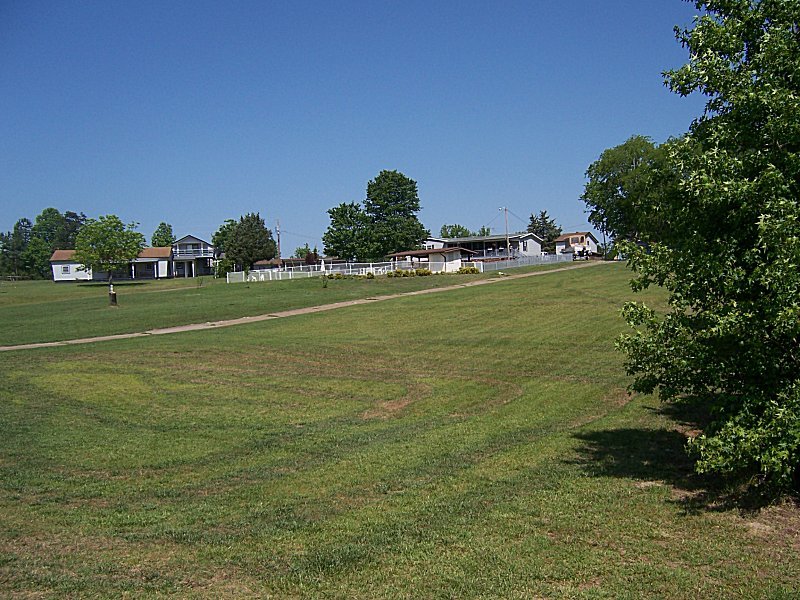
  The BARN appears to be the original structure on the property. It contains three rooms with a small garage added on not more than 50 years ago. There are discarded works for a washer / dryer and toilet. The building is built in post and beam and would withstand anything nature could throw at it - except fire. It is remarkably well insulated and always cool in the summer and warm in the winter months. A lean-to hangs off the back under which the Gilberts (previous owners) ran electric for lights and a small air compressor.

Air compressor
The air compressor left behind as a gift from the Gilberts. Comes in real handy, but I never cared for it being out of doors.

Tractor Storage
Garage area.

Tool room
Tool room - note the window.

Tool room
Tool room - note the window.

Tool room
Tool room has two shop made doors. Office door is a storm door, seen on left. The tractor storage room is partially seen on right.

Cathy's Area Side Door
Looking into the tool room.  
Summer of 2007

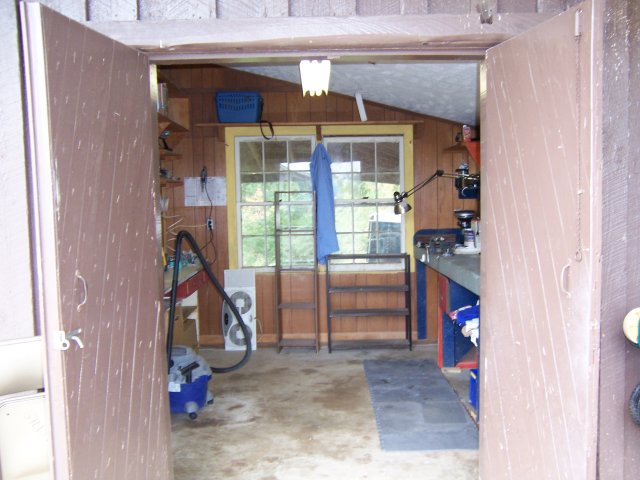
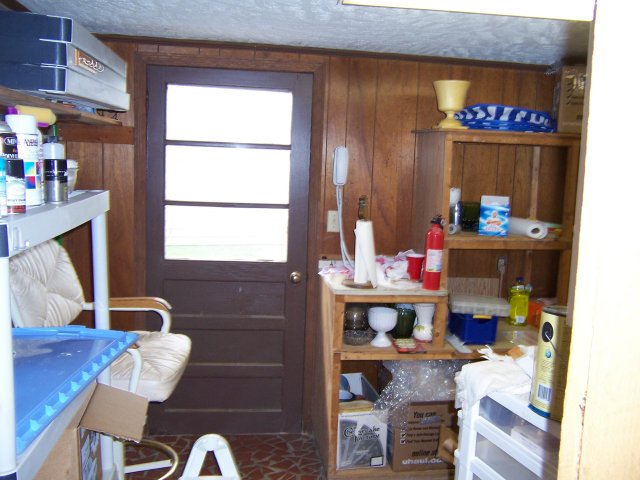
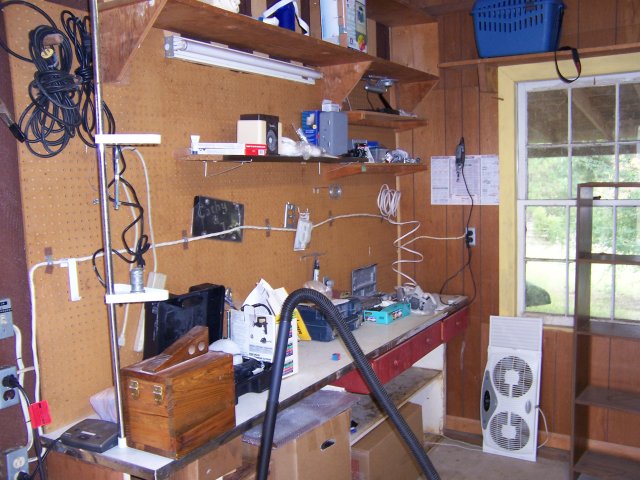
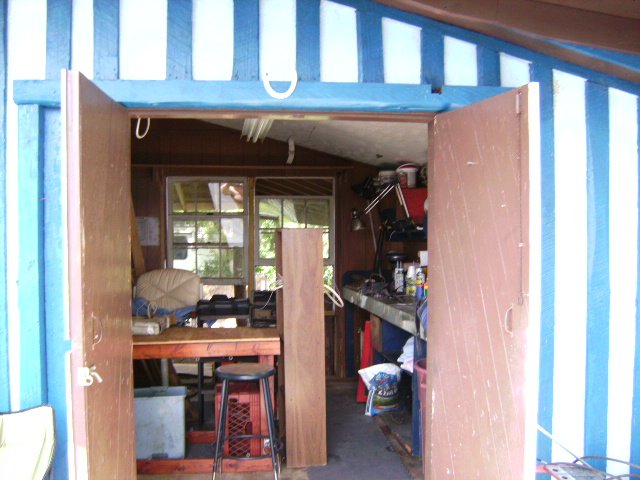
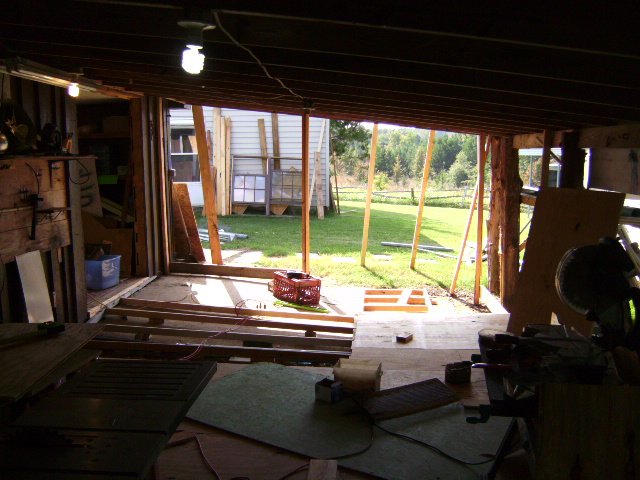
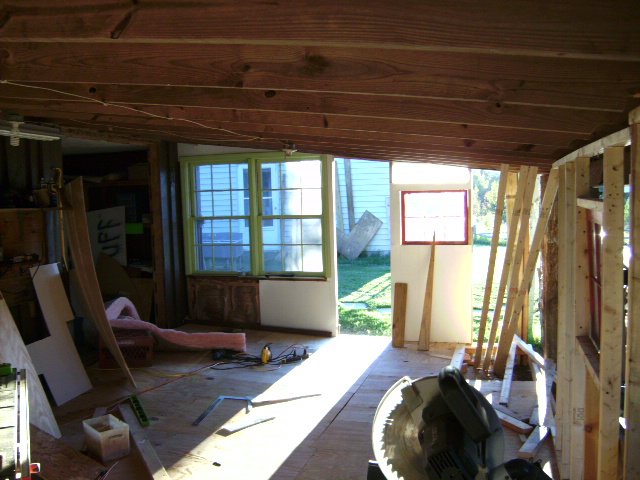
Take note of that image above right. During the autumn of 2008 Cathy and I  popped out the two windows at the back of the tool room and decided to enclose the lean-to. We also popped out the windows in Cathy's area so that now all the rooms of the barn are layed out in a circular fashion. We doubled the size of the barn in expectation of placing a billard table in the lean-to area. But we're barely able to fit a poker table.


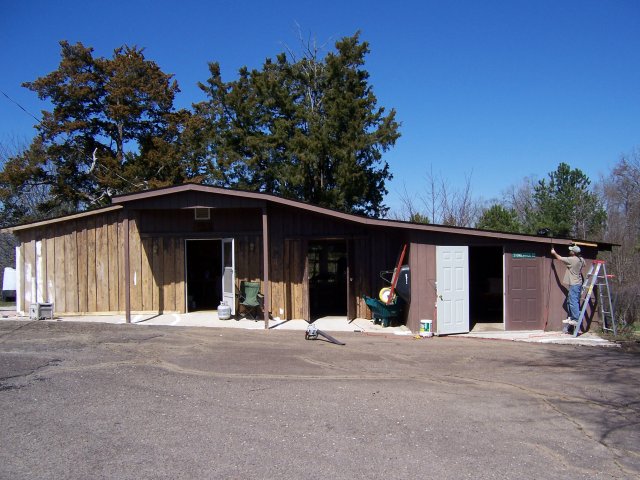
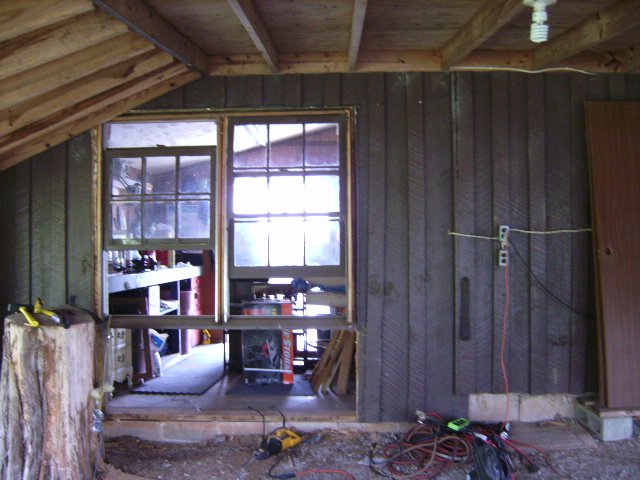
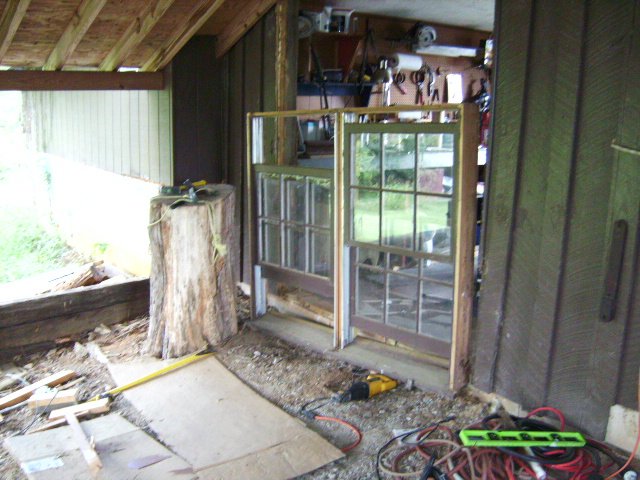
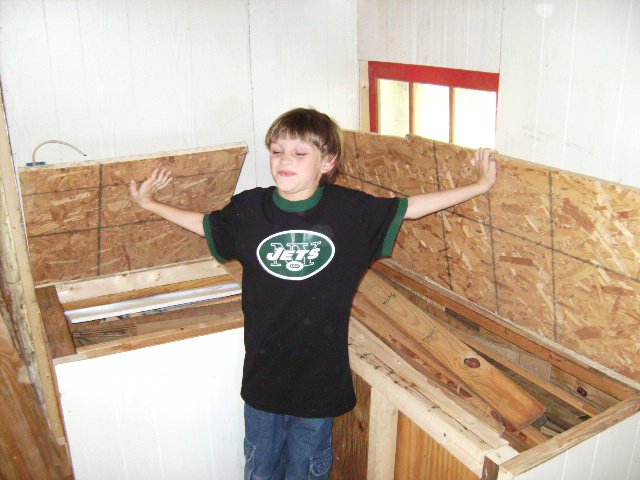
THE RENOVATION - September - October 2008
BEFORE

Before Renovation
AFTER

After Renovation

After Renovation

After Renovation

Movie (AVI) Files : FILE 1, FILE 2, FILE 3

 
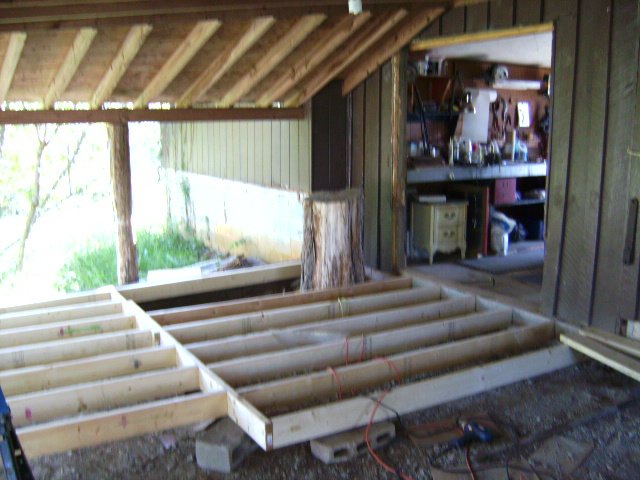
..........    STEP BY STEP    ..........

THE BACK OF THE BARN
What the back of the barn looked like summer of 2006.

THE BACK OF THE BARN
Mid way against wall was a work bench with 2 grinders. Under the bench was an air compressor. And I stored my canoe back here.

THE BACK SIDE OF THE BARN
What it looked like summer of 2008. Because the inside rooms are too small to be running heavy power tools in, I'd always end up working outside. 2 years of working, storing wood, using makeshift benches, and it looked a mess.

THE BACK OF THE BARN

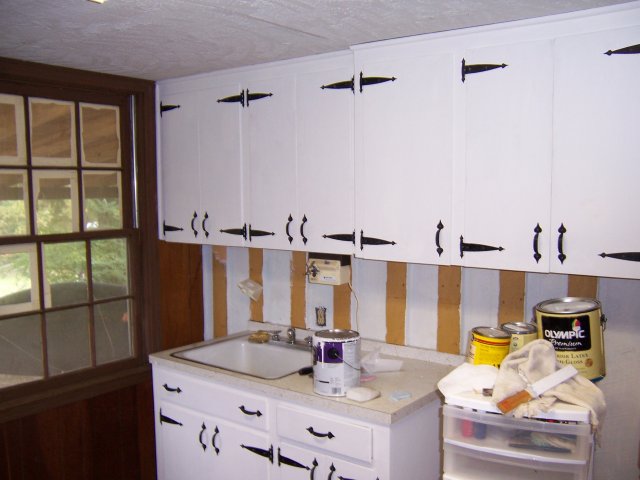
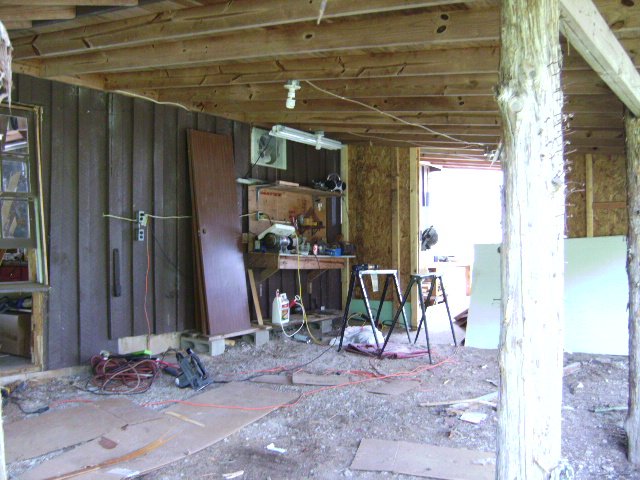
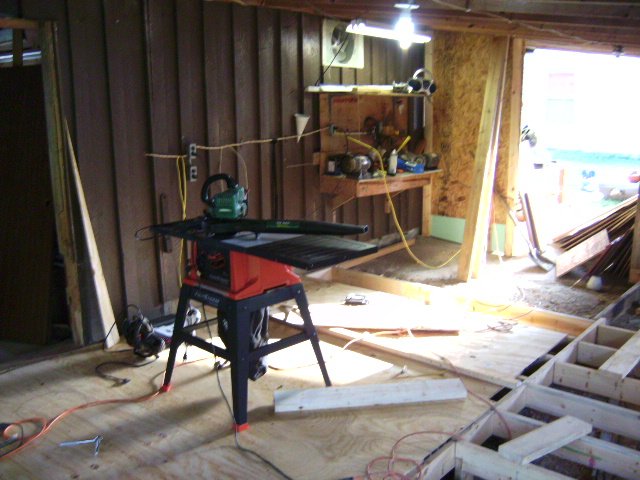
Firstly, we rip everything out.
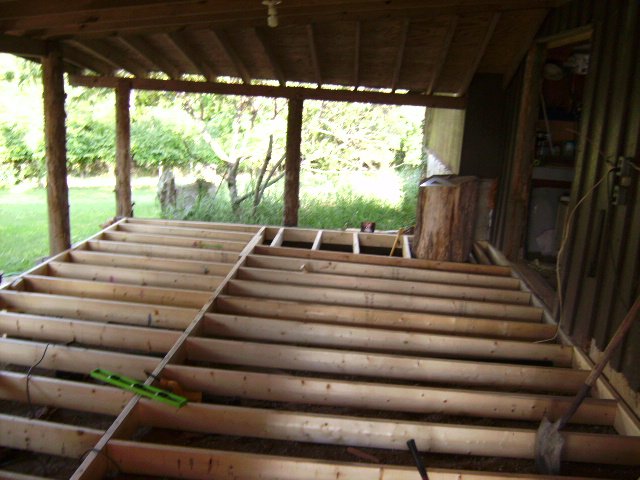
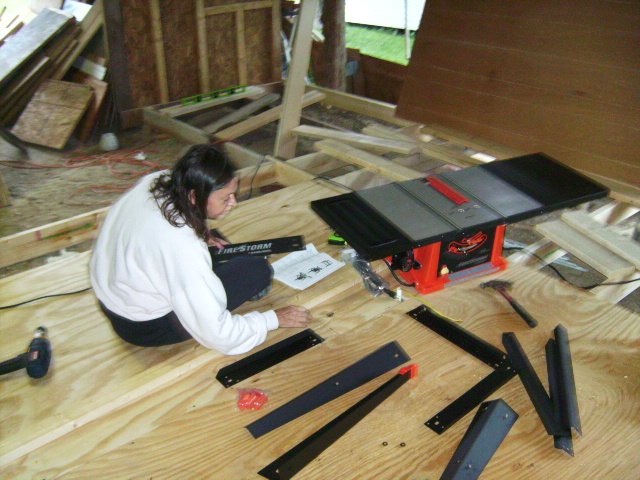
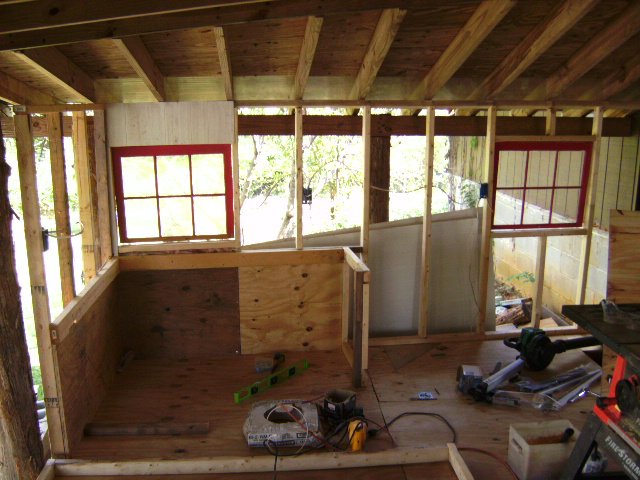
THE BACK OF THE BARN
Second? Rip out the back wall of the tool room. This will make an archway into the new room. I will use the windows on our new back wall.

THE BACK OF THE BARN

Same wall, different angle.

THE BACK OF THE BARN

Widows coming down!

THE BACK OF THE BARN
Notice the sign from our gone-by florist - 
LAST FLORIST BEFORE CEMETERY
This was the back corner where wood was stored.

THE BACK OF THE BARN
This was a view looking at the ooposite cornder from the wood storage. Once it was cleared.

THE BACK OF THE BARN
View from that corner shown on your left photo.
 After clearing the area, of course.

THE BACK OF THE BARN
Got to have a floor once you step from the tool room into the new shop area. Notice the new floor is high above the ground. The lean-to leaned far and away from the tool room's level. And that level was lower than what is behind  the office and Cathy's room. You'll see later on that I needed to make the floor leading out of Cathy's room unlevel.

THE BACK OF THE BARN

Nice.

THE BACK OF THE BARN
Remember that green wall. Still there. The floor would be perfectly level if I build it to that wall. Cath and I decided we wanted more room. So we now need to take down that wall.

THE BACK OF THE BARN
Wall gone.

THE BACK OF THE BARN
Another  view

THE BACK OF THE BARN
Another; here you see the back of the visitor's trailer. You also see the horses and bench I built to cut wood for this project.

THE BACK OF THE BARN
Once we had a few sheets of plywood on the floor, we assembled the new table saw.

THE BACK OF THE BARN
Once the saw was operable, things started to spped up.

THE BACK OF THE BARN
Ready to rock and roll.

THE BACK OF THE BARN
Floor moving along well.

THE BACK OF THE BARN
Green wall gone. Added 10 feet more, but notice the floor slopes down on the left. Everything built in this area needed to be leveled. Lots of shelves in this area.

THE BACK OF THE BARN
This is view of opposite corner near the tool room. Note the windows in place and a bin is being built that will house odd cuts of wood. Nothing on a farm is ever discarded.

THE BACK OF THE BARN
Jumping a bit ahead, but is same corner showing PJ screwing in the top to that bin.

THE BACK OF THE BARN
PJ and the 2 tops.

THE BACK OF THE BARN
PJ

THE BACK OF THE BARN
Again, a bit ahead of ourselves, but a nice view.

THE BACK OF THE BARN
Cathy inspecting my work.

THE BACK SIDE OF THE BARN
These windows use to be right behind my shoulder.

THE BACK OF THE BARN
I had figured every inch of wood and wire correctly..but the insulation I over shot by 7 rolls. So this room is buttoned up REALLY GOOD!

THE BACK SIDE OF THE BARN
Same as on left but wider angle.

THE BACK SIDE OF THE BARN
Almost there.

THE BACK SIDE OF THE BARN
THERE!

THE BACK SIDE OF THE BARN
Got to build benches and shelves.

THE BACK SIDE OF THE BARN
Yea, like that!

THE BACK SIDE OF THE BARN
Lockers, chop saw and shelves.

THE BACK SIDE OF THE BARN
Router and file cabinet..air compressor under sheelf near that high chair.

THE BACK SIDE OF THE BARN
View from old tool room.

The new barn shop
Computer atop shefl where compressor sits. And notice I store the portable work bench between shelves.

Grinder bench and west wall of barn
I tried to open that southwest facing wall as much as possible. Ieven cut a windows into the door to get as much natural light as possible. The bench on right holds 2 grinders and an exhuast fan.

Shop
View from other side of the chair and shelf seen at your left.  This is shot from the archway between this shop room and Cathy's office.

THE BACK SIDE OF THE BARN
Remeber this?

Main House

Unit One

Unit Two

Unit Three

Unit Four

Garden